Posted by
Related reading
How to add current Git branch to your terminal prompt
Learn how to adapt the terminal prompt to always show the git branch you are currently working on
How to customize your terminal prompt
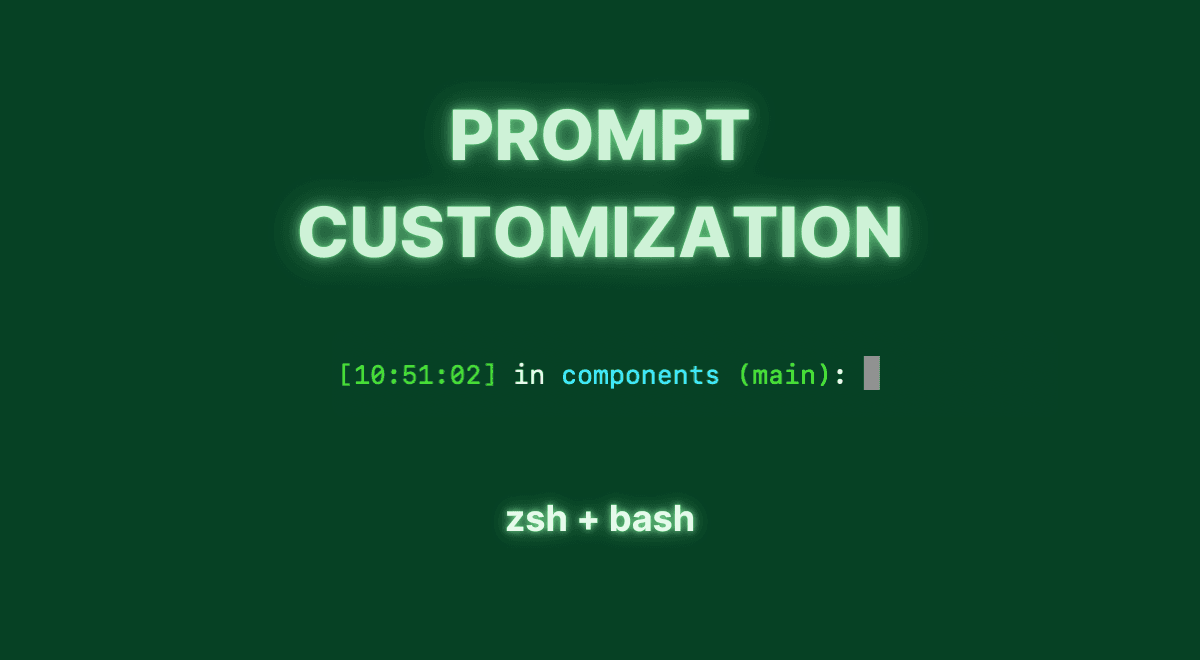
Hello there! In this article, I’ll explain how to improve your Mac terminal workflows by creating a custom prompt that displays dynamic and useful information. I’ll also show you how to color-code each segment of your prompt to add some visual contrast and a personal touch to your terminal.
What is the terminal prompt?
Before we start, let's quickly clarify what the prompt is. The terminal prompt is the part of the terminal where you enter your commands. You can configure this part to show additional information, such as the time a command was run, the folder you’re in, or even the git branch you are currently on. I’ll also show you how to assign different colors to each part of the prompt to make them more distinguishable.
The Easy Way
Before getting into the tutorial, I would like to introduce you to a tool I created that can help you customize your terminal without having to deal with configuration files. Don’t worry, I’ll still explain how you can do that afterward.
BetterTerminal lets you customize all of the above-mentioned aspects of your terminal in a visual editor, and takes away the complexity of working with dotfiles. If you are looking for a simpler and more visual way to customize your terminal, I invite you to check it out - here’s a short demo video.
Configuration Files
Okay, lets get started with the tutorial. If you want to configure your terminal manually, you will need to follow some different steps, depending on your shell type. You can find out what shell you are using by typing the following command into your terminal:
echo $SHELL
If the output looks something like /bin/bash, you are working with a Bash shell. If you see something like /bin/zsh, you’re working with a Zsh shell. Jump to the section of the tutorial that corresponds to your shell type.
Bash
When customizing your bash shell, there are two files that you need to work with: .bash_profile and .bashrc. Both of these files are located in your home folder. You can quickly navigate to your homefolder by typing cd into your terminal and pressing enter.
Once you are in the home folder, run the ls -a command to verify that the files are there. If not, go ahead and create them.
touch .bash_profile
touch .bashrc
Difference between .bash_profile and .bashrc
You might be wondering what the difference between these two files is. Essentially, .bash_profile is used for “login shells,” while .bashrc is used for non-login shells.
We don’t really need to worry about this distinction because we are simply going to link these two files together. This way, we only need to write our configuration into the .bashrc file, while the .bash_profile will source its content from the other file.
To do this, open the .bash_profile file in your preferred text editor, and copy the following code into the file. It doesn’t need any additional content.
if [ -f ~/.bashrc ]; then
    source ~/.bashrc
fi
This code ensures that the .bashrc file is sourced every time a login shell is started, allowing all customizations to be managed in one place.
Prompt customization in bash
To get started with the customization of your prompt, open the .bashrc file. Don’t worry if it already has some code in there; you can just continue at the bottom of the file.
We customize the prompt by changing the PS1 variable, which defines what your prompt looks like. To start, try something simple to verify that it works.
Add the following code to your .bashrc file:
PS1='->'
export PS1
Save the file and open your terminal. If you don’t see any changes, type the following command:
source ~/.bashrc
This command basically tells the terminal to use the newest version of the .bashrc file. If everything went well, you should be seeing this little arrow -> in your prompt now. That’s great, but it’s not really much more useful than the default prompt.
Luckily, there are some specific code sequences that we can use to display dynamic content in the PS1 variable. For example, we can inject the current time, or the name of the folder we’re in. Here are more options you can use:
- \u → Username The username of the current user.
- \w → Working Directory The current working directory, with HOME abbreviated with a tilde.
- \W → Basename of Working Directory The basename of the current working directory.
- \h → Hostname (short) The hostname up to the first dot (e.g., 'mycomputer').
- \H → Hostname (full) The full hostname (e.g., 'mycomputer.local').
- \j → Jobs The number of jobs currently managed by the shell.
- \l → Terminal Device The basename of the shell's terminal device name.
- \s → Shell Name The name of the shell (e.g., 'bash').
- \d → Date The date in "Weekday Month Date" format (e.g., "Tue May 26").
- \t → Time (24-hour) The current time in 24-hour HH:MM:SS format.
- \T → Time (12-hour) The current time in 12-hour HH:MM:SS format.
- @ → Time (12-hour am/pm) The current time in 12-hour am/pm format.
- \A → Time (24-hour HH:MM) The current time in 24-hour HH:MM format.
- \v → Bash Version The version of Bash (e.g., "4.4").
- \V → Bash Release The release of Bash, version + patch level (e.g., "4.4.12").
- ! → Command History Number The history number of this command.
- # → Command Number The command number of this command.
To add any of these variables to your terminal prompt, go back into your .bashrc file and update the PS1 variable. Let's construct a prompt that looks like this:
[14:40:23] <username> in <folder>:
Here are the escape sequences we need to use for this:
- Timestamp: \t
- Username: \u
- Folder: \w
Update the PS1 variable in your .bashrc file accordingly:
PS1="[\t] \u in \w: "
export PS1
Don’t forget to run source ~/.bashrc in your terminal to adopt the latest changes. If everything went well, you should see your updated prompt in your terminal. You can follow the same approach to add other information to your prompt, by simply adding different escape sequences to the PS1 variable.
Adding Colors to terminal prompt in bash
At this point, you may have already played around with your prompt and found a composition that works for you. However, it still looks kind of plain. We can change that by adding some colors into the mix. We have the option of changing the color of each prompt component. Unfortunately, the shell won’t let us work with HEX color codes. Instead, we need to use tput colors, which the terminal can interpret.
You can find our terminal color lookup table under this link. Use the table to determine the numerical tput color codes of the colors you would like to use in your prompt.
Once you have decided on your colors, you can define them as variables in your .bashrc file like this:
color1=$(tput setaf 34) # darkgreen
color2=$(tput setaf 15) # white
color3=$(tput setaf 45) # lightblue
color4=$(tput setaf 10) # green
reset=$(tput sgr0) # reset color
In order to reset the text color of the terminal after the prompt, we also need to define the default color through the reset variable.
Once your colors are defined, you can go ahead and add each color to the parts of your prompt. To keep the code clear, I like to split the construction of the PS1 variable into multiple lines:
PS1="\n";
PS1+="\[${color1}\][\t] ";
PS1+="\[${color2}\]\u ";
PS1+="\[${color3}\]in ";
PS1+="\[${color4}\]\W: ";
PS1+="\[${reset}\]";
export PS1;
Note the syntax we use to inject our color definitions. We need to wrap the variable in \[ ... \], which symbolizes a non-printable sequence (meaning we don’t want to display the literal tput color code in our prompt).
Save the file, source the new bash configuration, and voilà! You should have a custom prompt that makes each segment stand out with a unique color.
Zsh
If you're using the Zsh shell, the process is slightly different but just as basically follows the same pattern. Here’s how you can customize your Zsh prompt.
When customizing your Zsh shell, you primarily work with the .zshrc and .zprofile files located in your home folder. You can quickly navigate to your home folder by typing cd into your terminal and pressing enter.
Once you are in the home folder, run the ls -a command to verify that both of the files are there. If not, go ahead and create them.
touch .zprofile
touch .zshrc
Difference between .zprofile and .zshrc
You might be wondering what the difference between these two files is. Essentially, .zprofile is used for “login shells,” while .zshrc is used for non-login shells.
We don’t really need to worry about this distinction because we are simply going to link these two files together. This way, we only need to write our configuration into the .zshrc file, while the .zprofile will source its content from the other file.
To do this, open the .zprofile file in your preferred text editor, and copy the following code into the file. It doesn’t need any additional content.
if [ -f ~/.zshrc ]; then
    source ~/.zshrc
fi
This code ensures that the .zshrc file is sourced every time a login shell is started, allowing all customizations to be managed in one place.
Prompt Customization in Zsh
To get started with the customization of your prompt, open the .zshrc file in your preferred text editor.
In Zsh, we customize the prompt by changing the PROMPT variable. To start, try something simple to verify that it works.
Add the following code to your .zshrc file:
PROMPT='->'
Save the file and open your terminal. If you don’t see any changes, type the following command:
source ~/.zshrc
This command tells the terminal to use the newest version of the .zshrc file. If everything went well, you should see this little arrow -> in your prompt now. That’s great, but it’s not really much more useful than the default prompt.
Luckily, there are specific code sequences that we can use to display dynamic content in the PROMPT variable. For example, we can inject the current time or the name of the folder we’re in. Here are more options you can use:
- %n → Username: The username of the current user.
- %d → Working Directory: The current working directory.
- %~ → Working Directory (with home abbreviated): The current working directory, with HOME abbreviated with a tilde.
- %m → Hostname (short): The hostname up to the first dot (e.g., 'mycomputer').
- %M → Hostname (full): The full hostname (e.g., 'mycomputer.local').
- %j → Jobs: The number of jobs currently managed by the shell.
- %l → Terminal Device: The basename of the shell's terminal device name.
- %h → History Number: The history number of this command.
- %! → Command Number: The command number of this command.
- %D{%format} → Date: The date in the specified format (e.g.,
%D{%a %b %d}for "Tue May 26"). - %T → Time (24-hour): The current time in 24-hour HH:MM format.
- %* → Time (24 with seconds): The current time in 24 HH:MM:SS format.
- % → Time (12-hour am/pm): The current time in 12-hour am/pm format.
- %v → Zsh Version: The version of Zsh.
To add any of these variables to your terminal prompt, go back into your .zshrc file and update the PROMPT variable. Let's construct a prompt that looks like this:
[14:40:23] <username> in <folder>:
Here are the escape sequences we need to use for this:
- Timestamp: %T
- Username: %n
- Folder: %~
Note that the folder sequence accepts an integer after the % symbol. The integer specifies a number of trailing components of the current working directory to show; zero means the whole path.
Update the PROMPT variable in your .zshrc file accordingly:
PROMPT="[%T] %n in %1~: "
Don’t forget to run source ~/.zshrc in your terminal to apply the latest changes. If everything went well, you should see your updated prompt in your terminal. You can follow the same approach to add other information to your prompt by simply adding different escape sequences to the PROMPT variable.
Adding colors to zsh prompt
At this point, you may have already played around with your prompt and found a composition that works for you. However, it still looks kind of plain. We can change that by adding some colors into the mix. We have the option of changing the color of each prompt component. Unfortunately, the shell won’t let us work with HEX color codes. Instead, we need to use tput colors, which the terminal can interpret.
You can find our terminal color lookup table under this link. Use the table to determine the numerical tput color codes of the colors you would like to use in your prompt.
Once you have decided on the colors you want to use, you can define them as variables in your .zshrc file like this:
color1=$(tput setaf 34) # darkgreen
color2=$(tput setaf 15) # white
color3=$(tput setaf 45) # lightblue
color4=$(tput setaf 10) # green
reset=$(tput sgr0) # reset color
In order to reset the text color of the terminal after the prompt, we also need to define the default color through the reset variable.
Once your colors are defined, you can go ahead and add each color to the parts of your prompt. To keep the code clear, I like to split the construction of the PS1 variable into multiple lines:
PROMPT="%{$color1%}";
PROMPT+="%{${color1}%}[%*] ";
PROMPT+="%{${color2}%}%n ";
PROMPT+="%{${color3}%}in ";
PROMPT+="%{${color4}%}%~";
PROMPT+="%{$reset%}";
export PROMPT;
Note the syntax we use to inject our color definitions. We need to wrap the variable in %{ ... %}, which symbolizes a non-printable sequence (meaning we don’t want to display the literal tput color code in our prompt).
Save the file, source the new zsh configuration, and voilà! You should have a custom prompt that makes each segment stand out with a unique color.
Whats next
Hopefully, you successfully managed to customize your prompt. If you got stuck at any point, there are plenty of other resources that might help resolve your issue.
Alternatively, BetterTerminal can help you create your custom prompt without having to touch any configuration file. In BetterTerminal, you can also configure your prompt to include the currently checked-out git branch of the directory you are in.
If you prefer to configure this manually, read our next article, which will explain how to achieve this. We’ll dive into adding git branch information to your prompt and more advanced customizations to enhance your terminal experience. Stay tuned!
---------------------------------------
BetterTerminal
A simpler way to customize your terminal
---------------------------------------
Skip the dotfile madness and use our terminal customization tool to easily customize your terminal.